Wednesday, January 30, 2013

Gardening in Preschool

One of my favorite children's books about gardening is The Curious Garden by Peter Brown. The illustrations in this book are charming and beautiful. It tells the story of a little boy, Liam, who makes his city prettier by growing trees, flowers, and other plants. My classes have always enjoyed reading The Curious Garden. They especially like comparing the picture of the city before it had gardens to the picture of the city after Liam inspired everyone to grow things.

Since we were about to start beautifying our playground with gardens, it seemed to be the appropriate book to read. After reading it, we set out to plant gardens "just like the boy in the book", as one of our students put it.

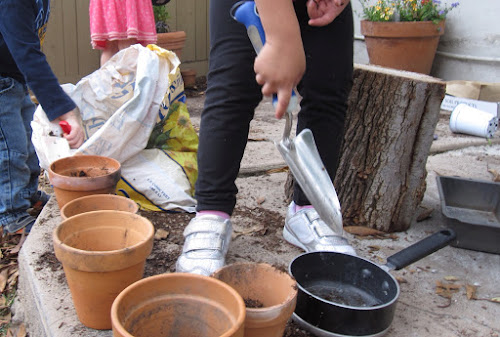
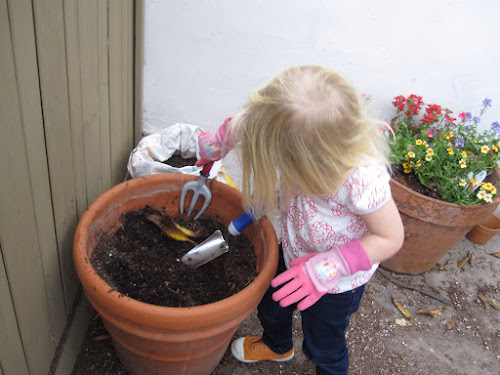
Over the weekend, I had taken a trip to the local nursery to get some plants and potting soil. I also found some child-sized gardening tools, children's gardening gloves, and small watering cans. We already had some large terracotta pots that I moved into the outdoor kitchen area. Once we went outside, I let the children shovel dirt into (and out of) the pots for a while before we put the plants in.

The actual planting part didn't seem to interest the children very much, so I did most of it.


They all loved watering the plants, though. At this rate, these flowers and herbs will never be thirsty!

When we were finished, I let the children use the extra potting soil to fill small terra cota pots...

and plant other things.

They also used some of it to "cook" in the kitchen area.

Mud soup! Yum!
 

Thursday, January 24, 2013

Dry Erase Faces

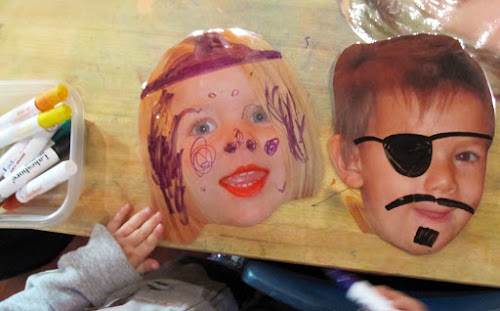
I saw this idea on the Play At Home Mom blog. It looked like lots of fun, so I decided to try it out in our classroom. I searched through my many pictures and found nice face shots of all our students. I printed them out on regular paper and laminated them. I had lots of help with this because our class loves to use the laminator.
Then I cut out the pictures and got out the dry erase markers.
At first, the favorite thing to draw was glasses...
but soon we got creative.


Tuesday, January 22, 2013

Water Play Board

Recently I've been in playground improvement mode. After looking at hundreds of ideas on Pinterest, I came up with a list of things I wanted to try at our school. The project at the top of my list was a water play area where children could pour water into tubes and watch the water flow through and come out the other end. I'm not sure where I got this idea, but it was pretty clear in my mind what I wanted. All I had to do was find the right pieces to make it happen. Since we had a three-day weekend for MLK Day, I enlisted the help of my fiancé, Howard, and we made a trip to Lowes for supplies.

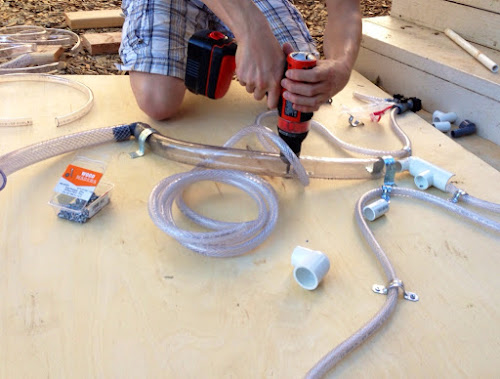
After about two hours at the hardware store, this is what we had.
Howard attached all the tubes to a 4-foot by 4-foot board.
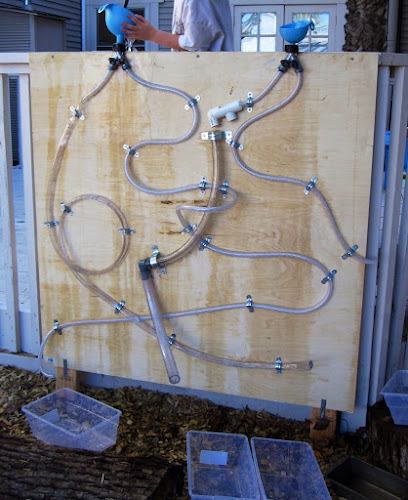
This is what it looked like when it was finished. We hung it on the side of the deck so that some children could stand on the deck to pour the water into the tubes, and other children could stand on the other side to watch the water flow through.
At the top of each set of tubes, we installed a two-way "Y" hose shut-off connector, which the kids could use to open or close each valve. This way, we could have the water flow into both tubes or just one as we wished. Then we put funnels at the top to make pouring a little easier.
The children loved pouring water into the funnels...
And watching it come out!
I put a bucket at the end of each tube so that we could catch and reuse the water.
Playing in the water as it came out was also lots of fun!
At first I was calling this the water board, but Howard pointed out that it might not be a good idea to send the children home saying that they had been "water boarding" all morning :)

Saturday, January 12, 2013

Monster Emotions


 One of my favorite children's books about emotions is Glad Monster, Sad Monster  which we read many times this week. The book came with monster emotion masks for the children to try on.


After reading the book, we decided to make our own monsters using an idea for blown paint monsters that I found on Pinterest. I gave each child a drinking straw and a glob of watered down paint. It took a little practice, but eventually the children were able to blow the paint around on the paper with their straws.

Once the pictures dried, we used googly eyes and markers to make faces on the monsters. Then I asked each child if their monster was glad or sad. 


Our glad and sad monsters made a very colorful classroom display.